You can rotate photos and videos in Nero Video in Express Editing via the FX control window or in Advanced Editing via the Effect Palette and the Properties window.
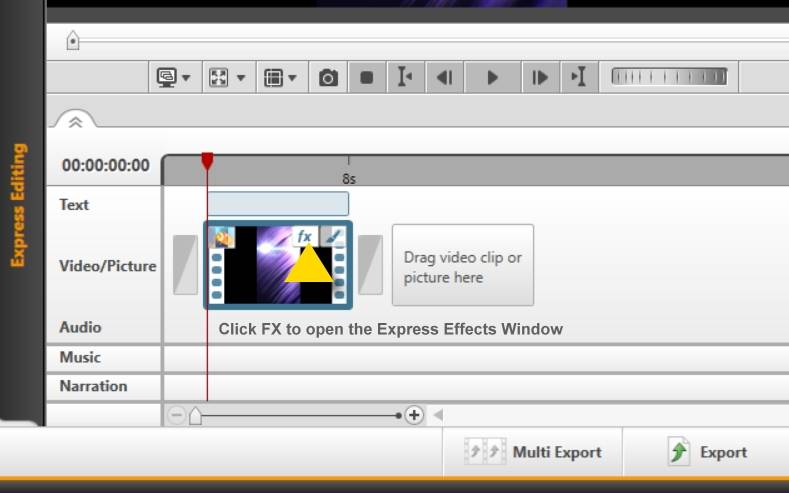
Express Editing
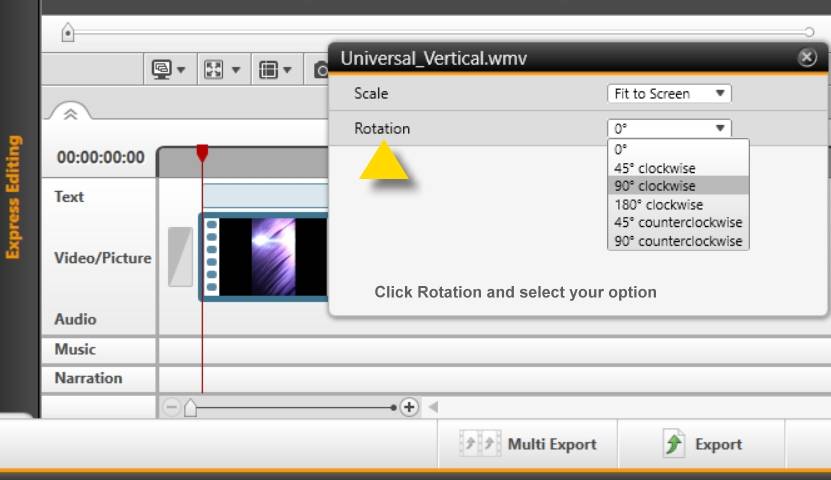
Place your clip in the timeline. Hover over the thumbnail and you will see two icons. Click on the FX icon to open the Express Effect Window. Click on Rotation and select your option.
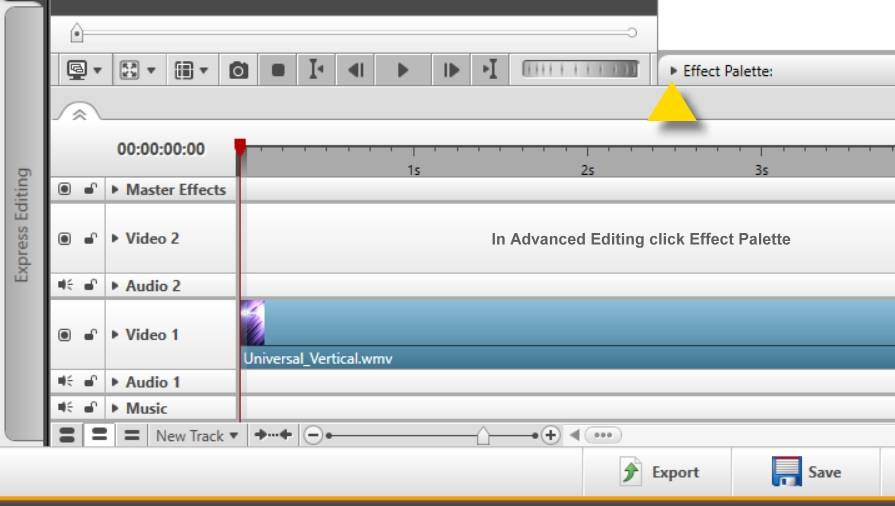
Advanced Editing
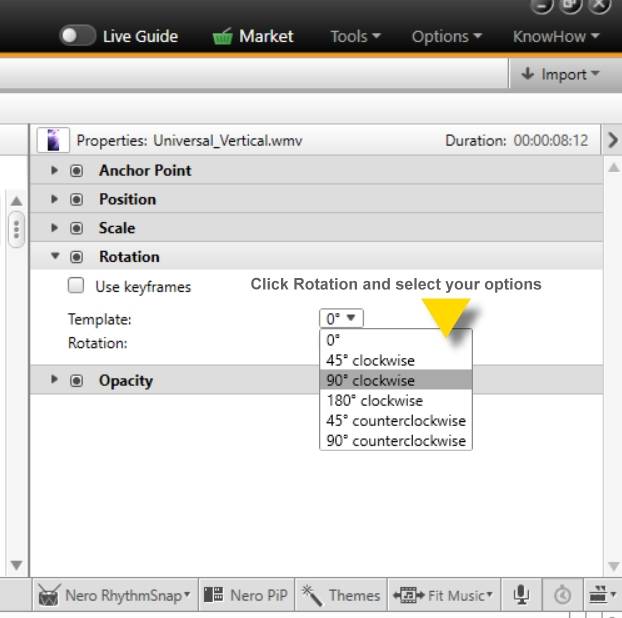
Place your clip in the timeline. Click on Effect Palette to open the associated Effect Properties window. Click on Rotation and select your option.
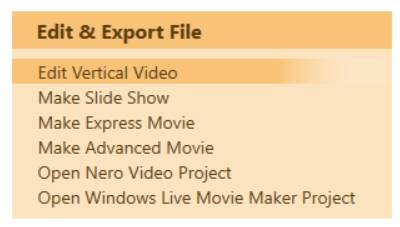
Tip: If you have shot photos and videos with your smartphone in portrait orientation you can also natively edit these in Nero Video Vertical Editing mode and export as vertical video. To do so, go to home screen and select ‘Edit Vertical Video’. Also see Nero KnowHow 00083
Yes indeed, with the latest version of WiFi+Transfer you can simply connect your mobile device running WiFi+Transfer App with your other mobile device running DriveSpan App.
Then add one or more smartphones and tablets into your wireless consolidation with DriveSpan App and finally access all your content on one central storage location free of duplicates.
Simply free your smartphones from unnecessary ballast.
There are a number of options for you to view and preview your assets in Nero Video. ‘My Media’ is the key window for viewing, pre-viewing and checking all of your source assets.
Viewing your clips in My Media
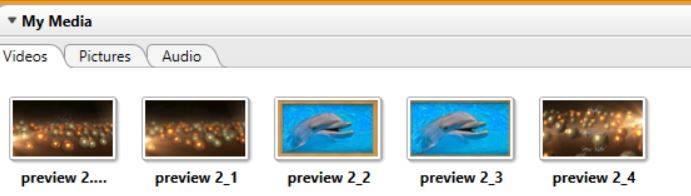
Within ‘My Media’ you find three tabs for the different types of media: Videos, Pictures, and Audio.
By default this archive is already filled with a number of clips, so that you can start doing some editing even without having imported your own clips.
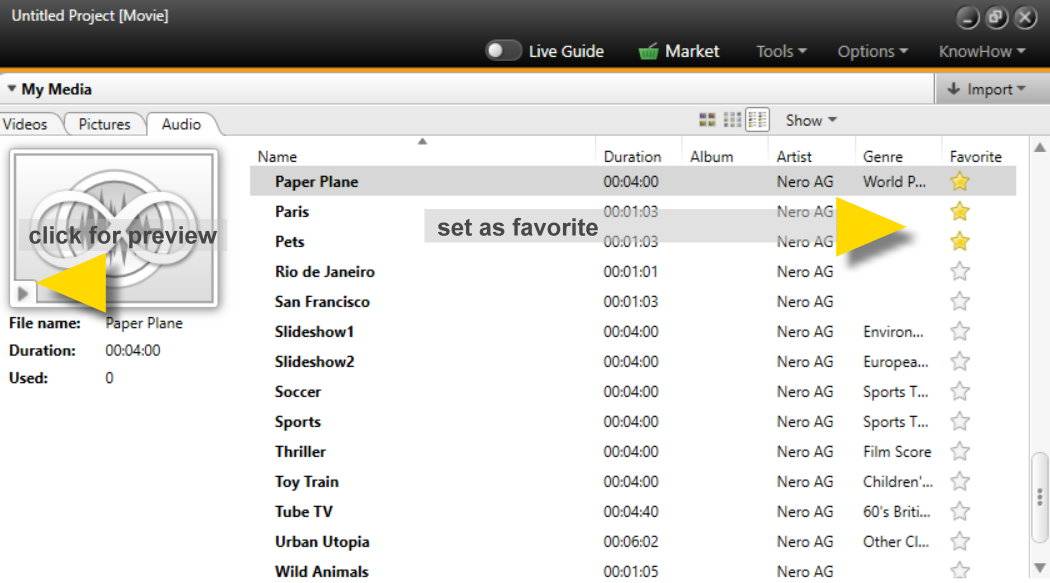
You may not know this, and that’s why it is even more worth pointing out: within the ‘Audio’ tab you have almost 60 royalty free music samples available that you can use in your projects (if you own Nero Platinum 2019). These are all of a high quality and can easily be pre-listened for selection in your project by clicking ‘list view’, selecting a piece of music, and clicking the play button in the preview thumbnail.
The viewing options for List view, Small thumbnails, and Large thumbnails apply to all tabs in My Media, so that you can flexibly select your preferred option. Also the option to set any of your of favorite clips as ‘Favorites’ applies to all of your assets within the tabs Videos, Pictures, and Audio.
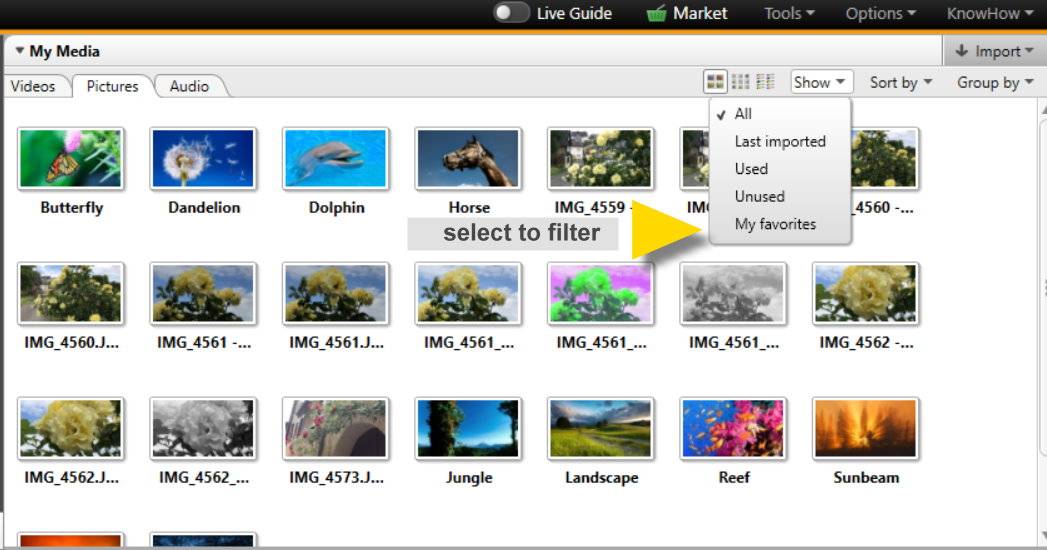
Use ‘Show’ to view your media with applied filters
If you click on ‘Show’ in My Media, a drop down list will open. The default filter is ‘All’ and the preferred option depends on your project.
In many cases we can assume that a well suiting option will be ‘last imported’ to only view the clips that you actually imported after you had started your new project.
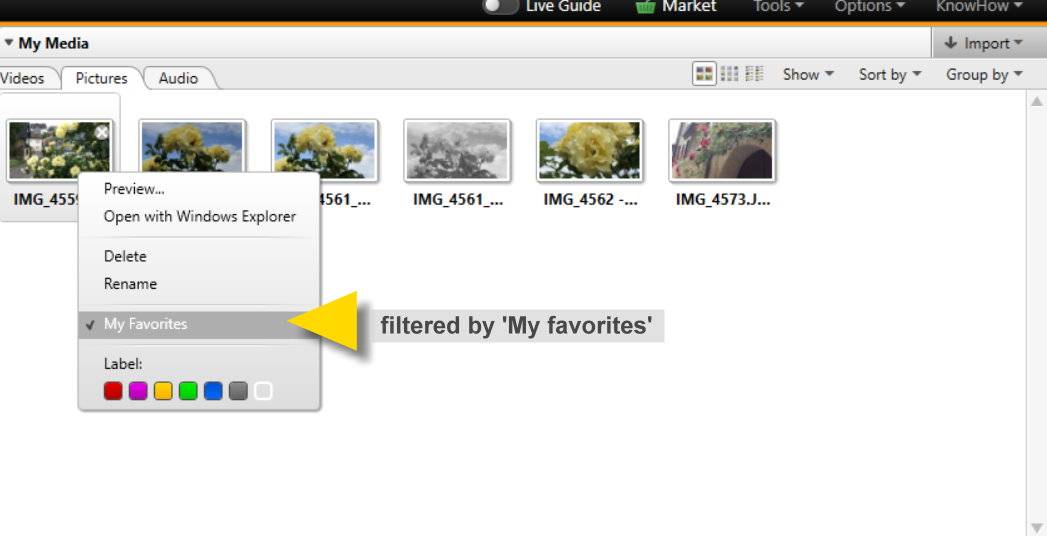
But you can also show your favorites, only, or just those clips that you are using in your project. The filter ‘Unused’ can be very convenient if you have finished your project and want to save it with only those assets that are actually used. Switching between views helps to keep the full picture.
In addition, under ‘Sort by’ you have further sorting functions (name, day, month, etc.) to adapt the list of source files to your needs and those of the project.
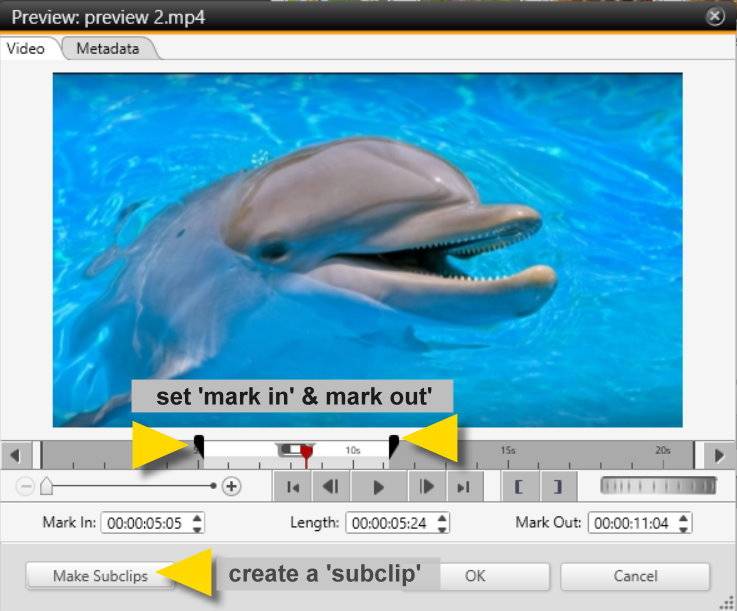
Preview and edit your assets individually with the pre-trim window
Double click on an asset in My Media and the preview window will open. This is available for all types of media and for any of these you can check the meta data if you click the respective tab (e.g. you can check the file format, the aspect ratio, the resolution, the codec of your source clip, etc).
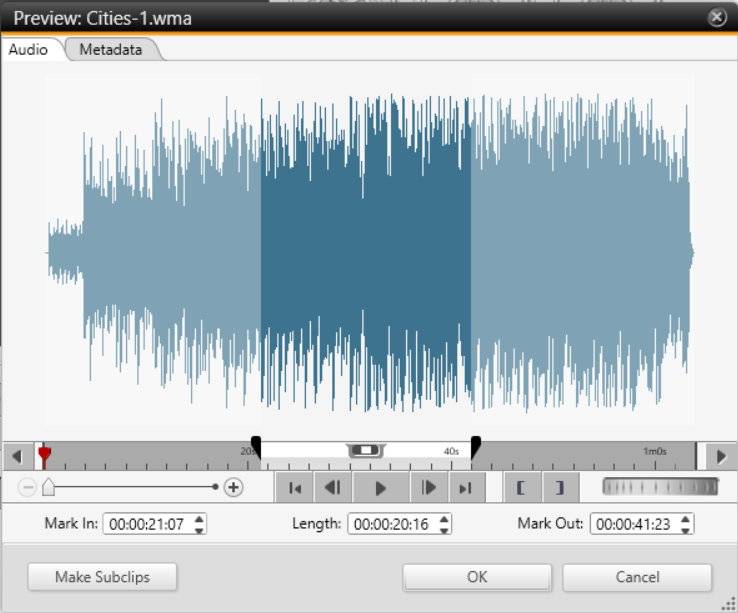
A very useful feature of the pre-trim window is setting ‘mark in’ and ‘mark out’ and even creating subclips of your assets. This allows you to separate sequences of your clips before even adding them to the timeline. Each subclip will be placed into My Media as a separate new clip.
Even if you want to edit special sequences out of your audio or music assets upfront of using them in the timeline, you can use the pre-trim window, too.
Just try it out, it helps improving your editing workflows for the rough cut quite a bit, especially as all the workflows described here just work identically in ‘Express Editing’ and ‘Advanced Editing’.
The case you are reporting is a very typical scenario for interviews, when you want to edit and mix two tracks of audio: one with speech, the other one with music. Check the steps below for how do this in Nero Video.
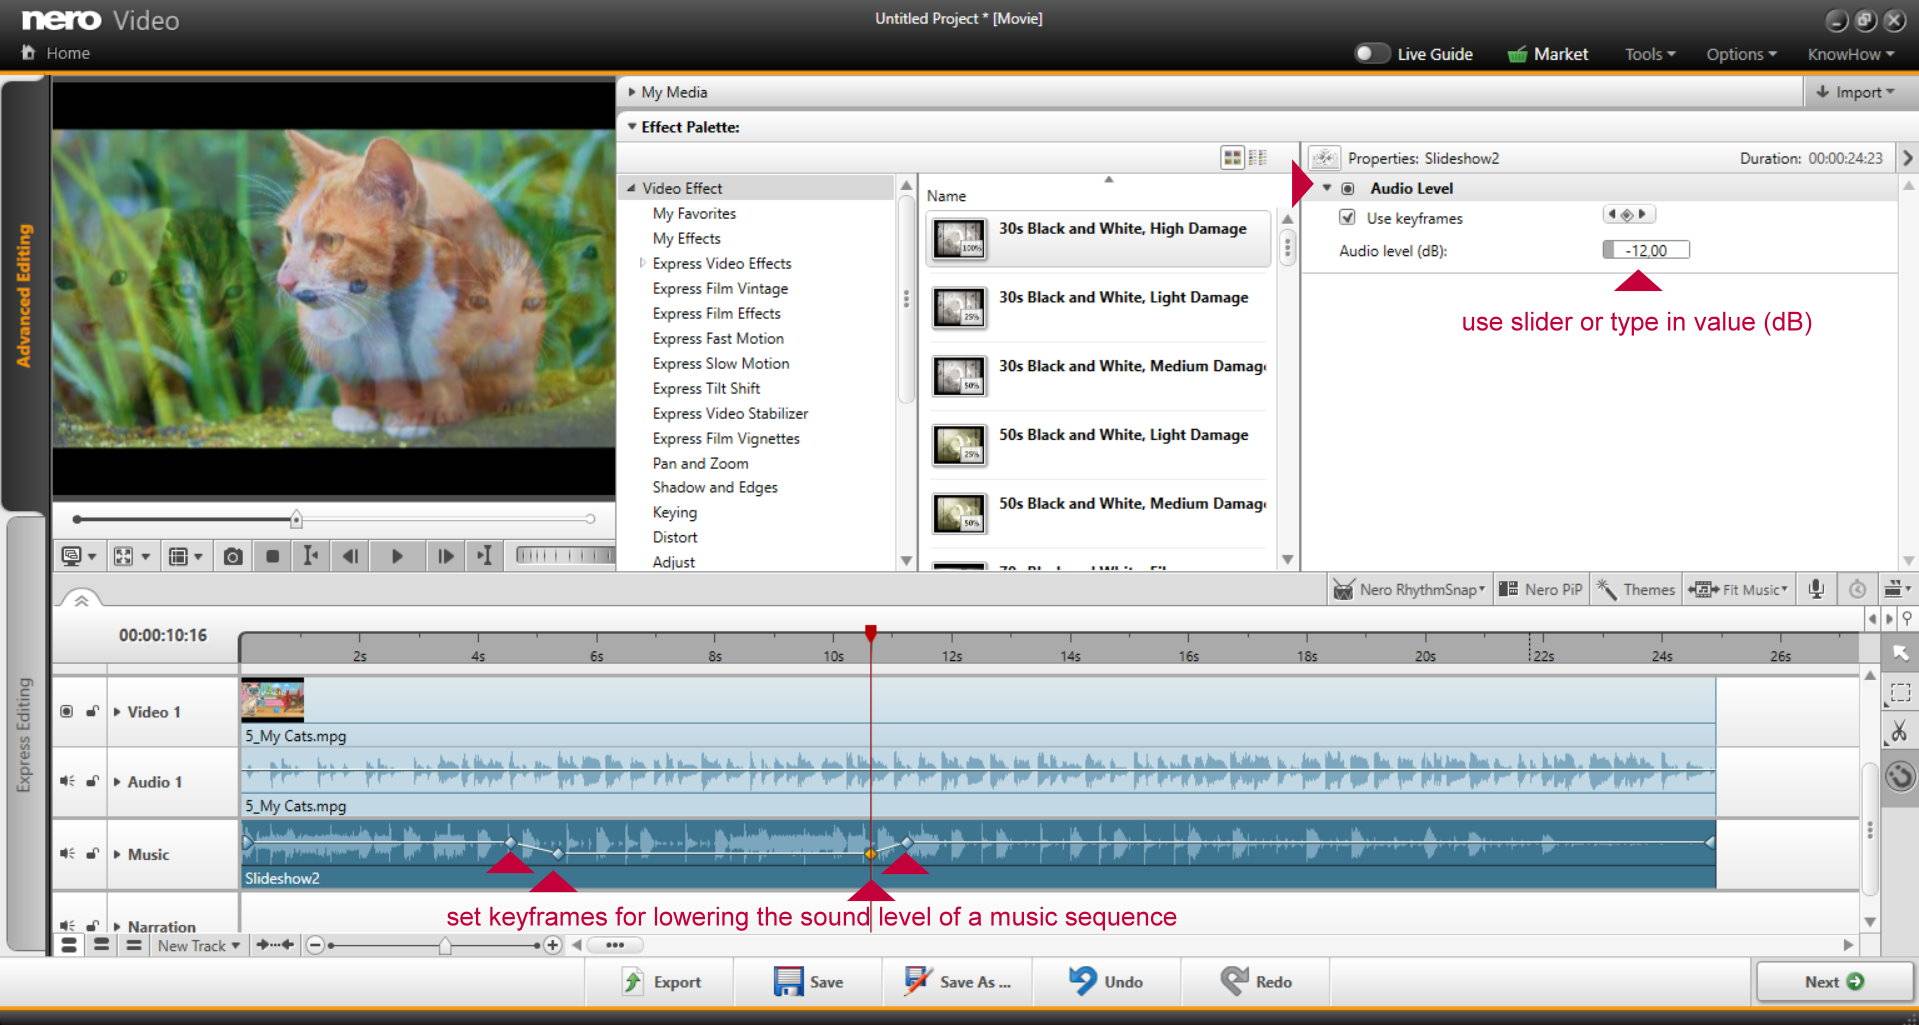
Go to advanced editing mode. In the example below you have two tracks in parallel: one audio track with speech linked to the video in track 1, one with music in the music track.
Switch to extended timeline view to see the wave forms of your clips
Select the track you want to edit
Go to effect palette and check the properties window for your clip
Click on the triangle left of ‘Audio Level’ to see the dB level
Use the dB slider for lowering or increasing the volume per track (you can also type in e.g. -6 dB, if you want to decrease the volume by half.
Tip: You can also set keyframes (when selecting ‘Use keyframes’) allowing you to do sequences of different loudness settings over time. This is very convenient when you want to match music to interviews, etc.
Nero FirstAidKit is a tool created by Nero that helps solving installation problems which might exist due to installs and uninstalls of different Nero product versions on the same system.
This tool will delete all registry entries of your Nero installation(s) and will allow a clean reinstall of your Nero product.
Please note that Nero FirstAidKit will uninstall/deletes all Nero related folders and files, and also Nero related registry entries. One option to be checked on/off -> to keep or delete all your own Nero data.
Please proceed as follows:
1. Please backup your Nero product SN and some necessary personal Nero data files first;
3. Unzip the ZIP-file with WinZip or WinRAR and save the content to your hard drive.
4. Double-click on the unzipped EXE-file to start the Nero FirstAidKit.
-> The window “Nero First Aid Kit” will open.
5. Click start with all default setting to remove the Nero entries.
NOTE: in the dialog, there is one option to be checked on/off -> to keep or delete all your own Nero data. Usually to keep this unchecked as default, especially for the first time to run this tool.
The execution of the tool may take several minutes.
Please wait until the progress has been completed.
6. Restart your PC as soon as it finished.
7. Now, start the installation of your given Nero product again. If your product contains content packs, please make sure to download and install your content again, too.
 In addition, under ‘Sort by’ you have further sorting functions (name, day, month, etc.) to adapt the list of source files to your needs and those of the project.