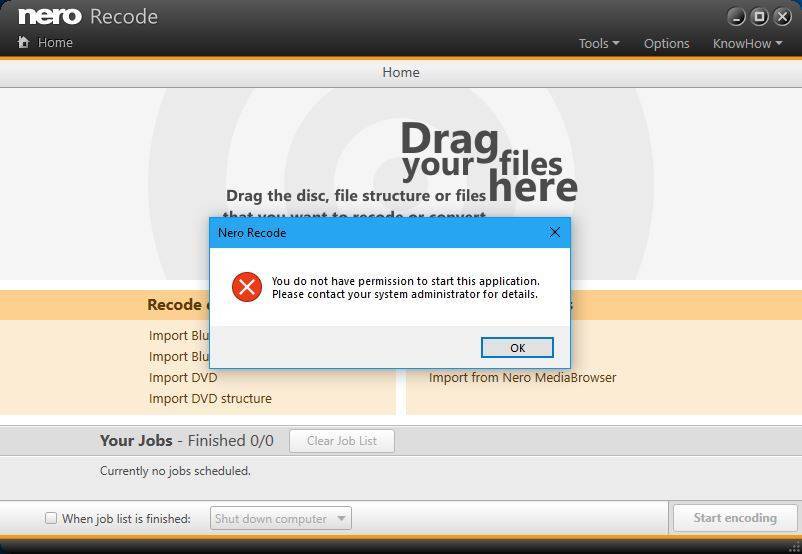
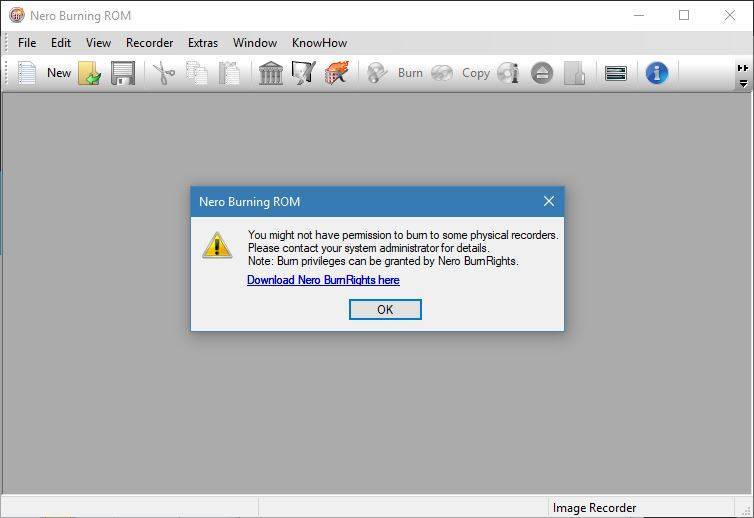
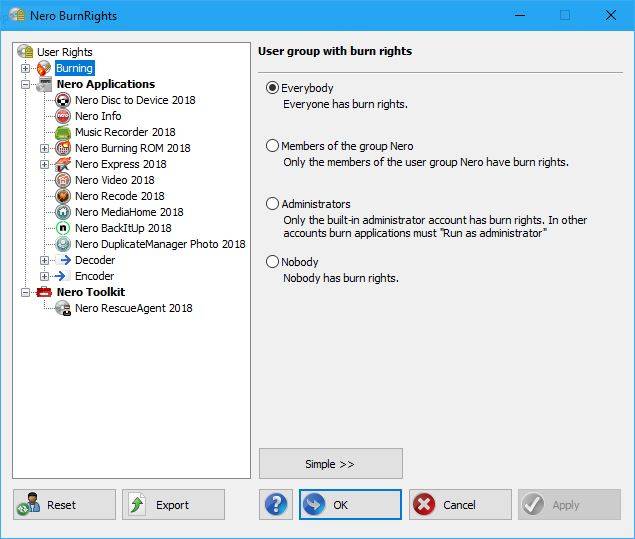
Nero BurnRights is an application available within Nero Volume License Products, only.
Nero BurnRights easily allows domain administrators to manage the behavior of Nero applications related to burning and other functions.
In this FAQ we show you how to enforce encryption for burning with SecurDisc in Nero Burning Rom or Nero Express in Nero Volume License Products (Nero 2018 and later).
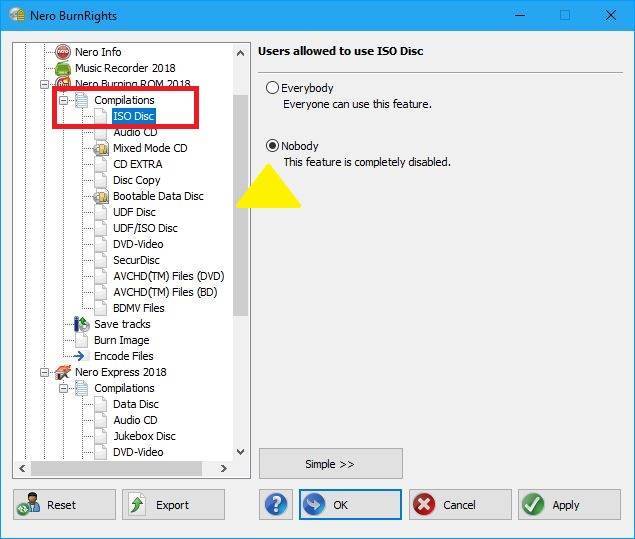
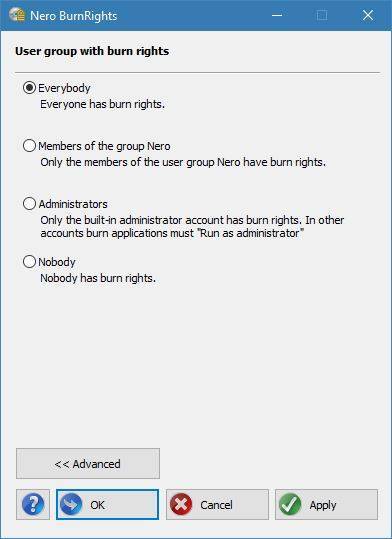
Launch Nero BurnRights and enable “Advanced” mode.
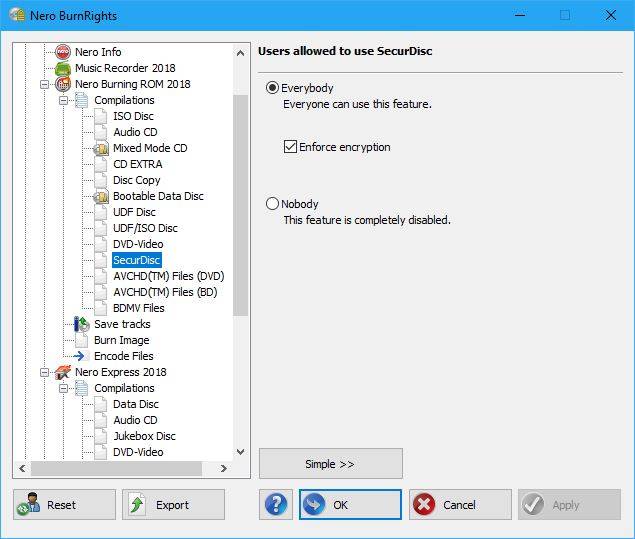
In the left panel expand the item “Nero Applications”, find and expand the item “Nero Burning Rom 2018” or “Nero Express 2018”, and expand the item “Compilations” again.
Under this item click the type “SecurDisc”. In Nero BurnRights 2018 (and later) you can find an additional checkbox in the right panel “Enforce encryption”. Select it and click “Apply” or “OK” to apply the changes.
Afterwards burning with SecurDisc in Nero Burning Rom 2018 (and later) or Nero Express 2018 (and later) will always need a password in order to encrypt the disc.

Other functions manageable with Nero BurnRights
- Enabling and disabling burn functions for Nero Applications
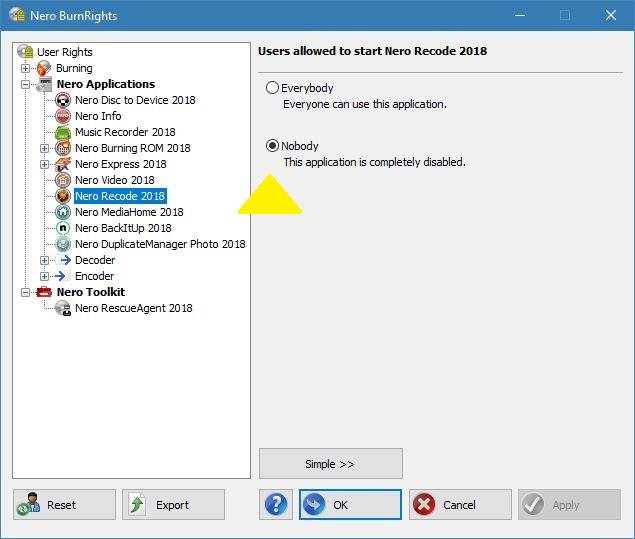
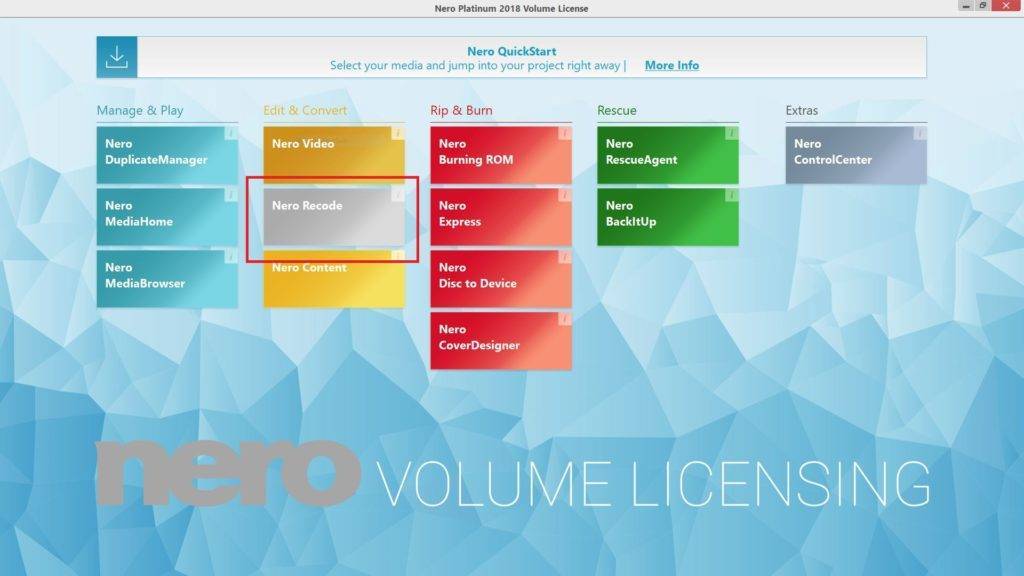
- Enabling or disabling individual applications of Nero Volume License Suites
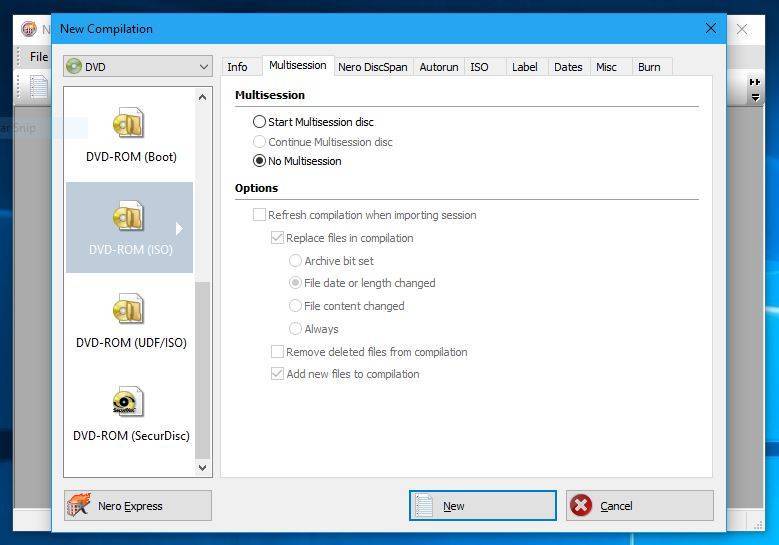
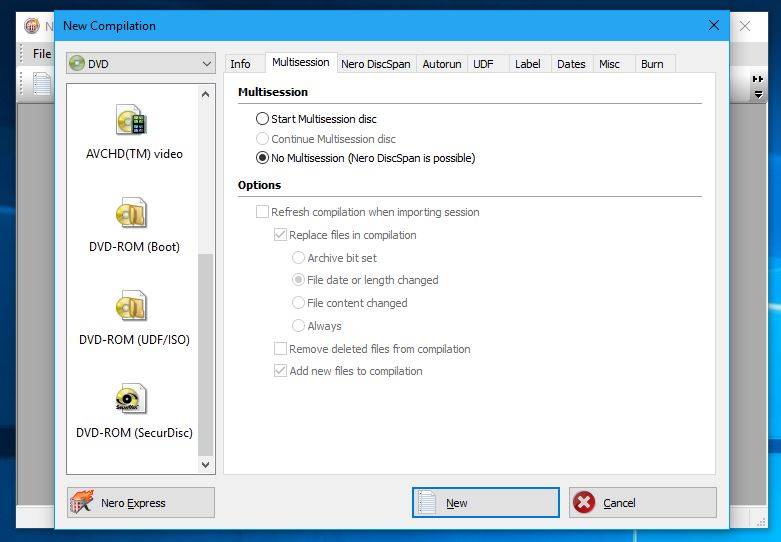
- Setting the type of compilation in Nero Burning Rom or Nero Express
- Set SecurDisc as the only burning option with one click in Nero Burning Rom 2018 (and later) and Nero Express 2018 (and later)
- Backup or deploy the Nero BurnRights configuration to all PCs
For details on other functions click on the link of the dedicated FAQs above.
Nero KnowHow 00101