Nero Start release notes v.28.5.20.0

What’s New: Flexible Views and New Styles

This update gives you more control and flexibility in Nero Start, so you can organize and view your applications the way you prefer. Most of the new features are available to all users, while the stylish Frosted Purple Banner is exclusive to the latest generation upgrade.

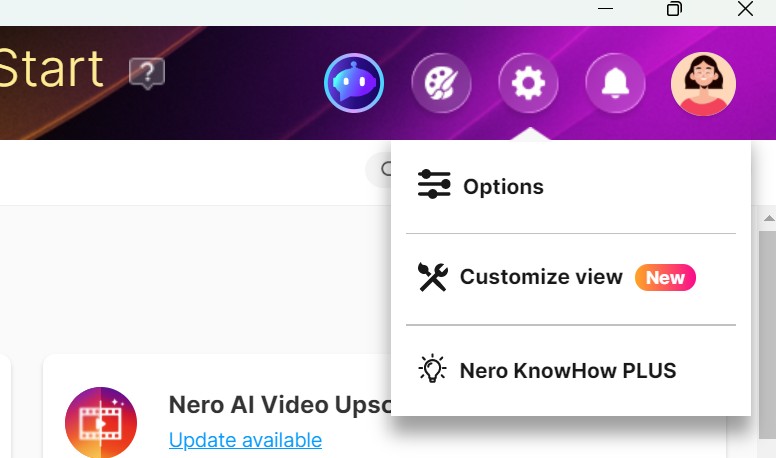
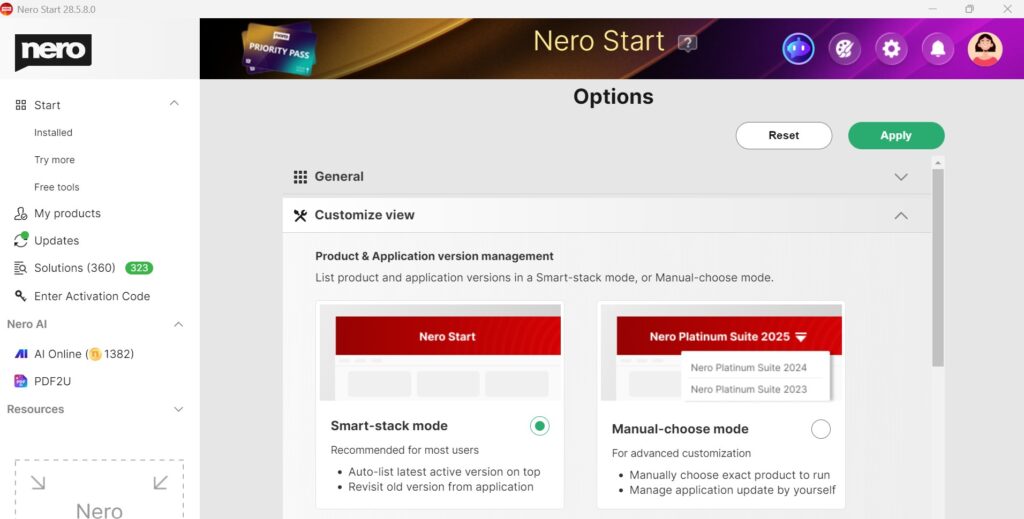
🔹Product & App Version Management

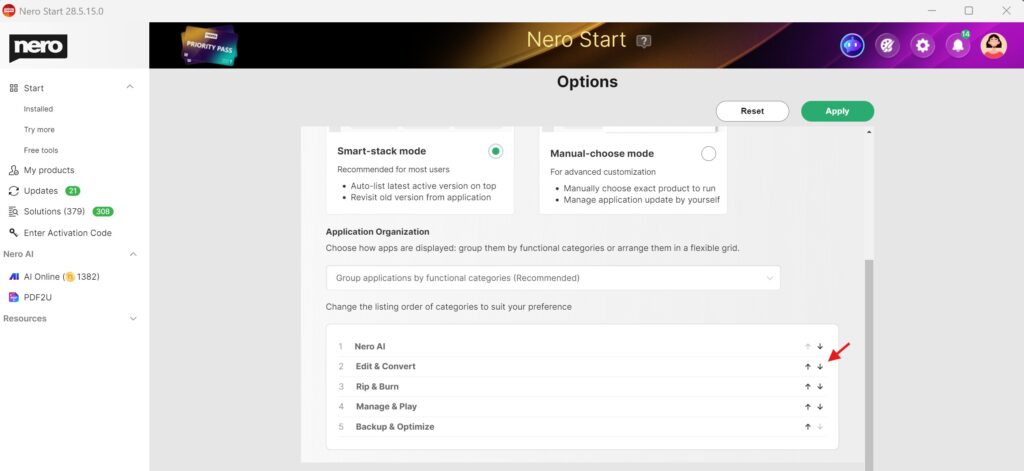
Easily manage how your product versions are organized. Choose a smart automatic mode for simplicity, or switch to manual mode if you prefer full control.

    • Smart Stacking Mode (Recommended): Let Nero Start automatically organize your product versions for a seamless experience. With one click, you always launch the latest application active version.

    • Manual Selection Mode (Advanced): Prefer full control? Select your preferred product directly from the top banner bar whenever you need it.

🔹 Organize Apps Your Way

Decide how your applications are displayed in Nero Start and where they are placed. Create an overview that best matches your way of working.


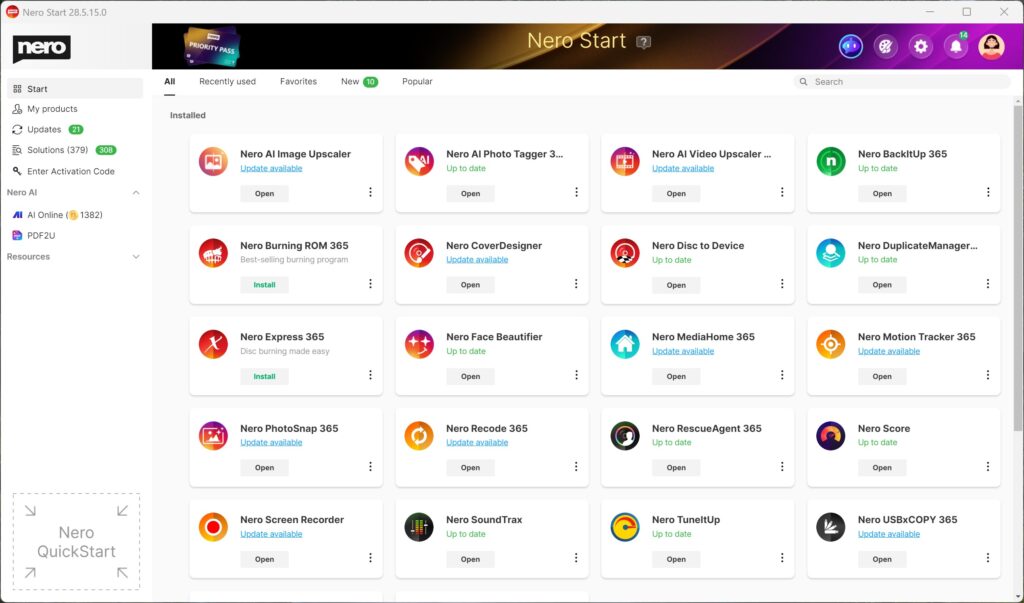
  • Group apps by functional categories for a clear overview.

  • Arrange them in a flexible grid to match your workflow.

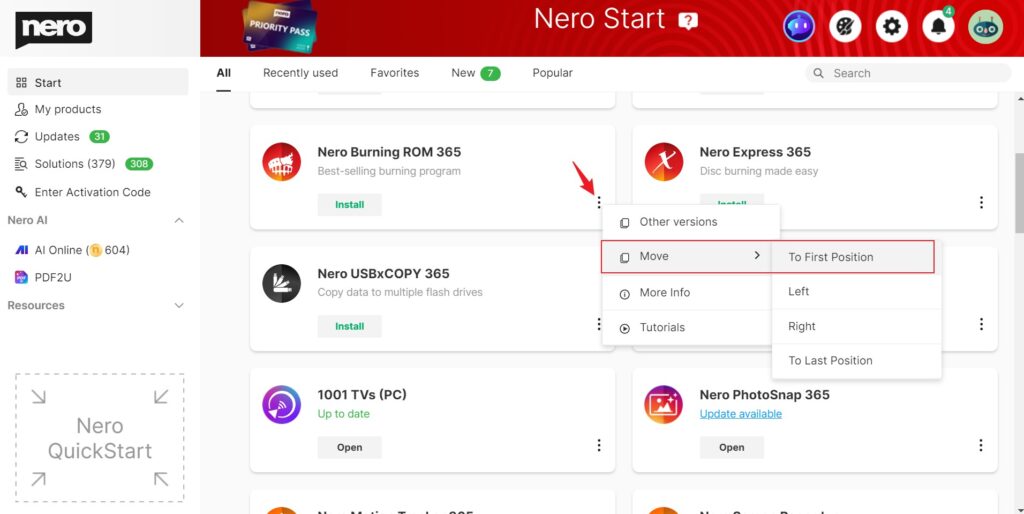
  • Use the right-click menu to change the position of your apps anytime, making your workspace exactly how you like it.

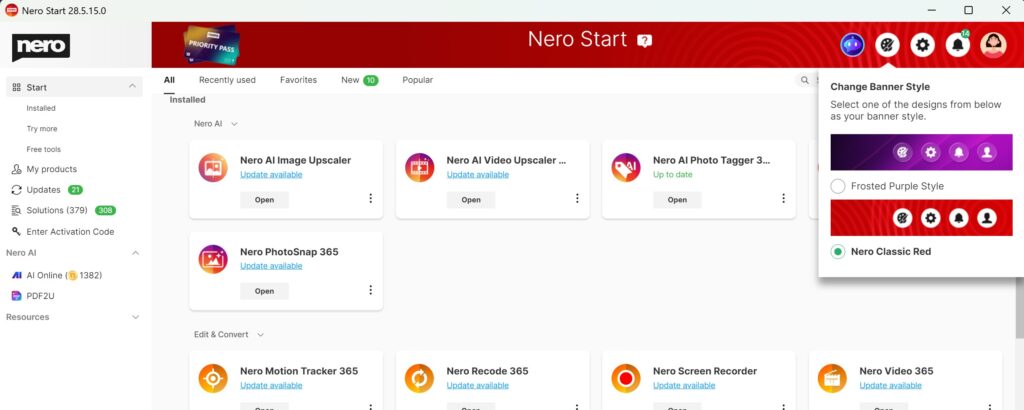
🔹 Fresh Banner Styles

Keep the classic style, or switch to the new Frosted Purple Style – a refreshed look with a frosted-glass effect that makes your Nero Start softer, clearer, and more enjoyable to use.

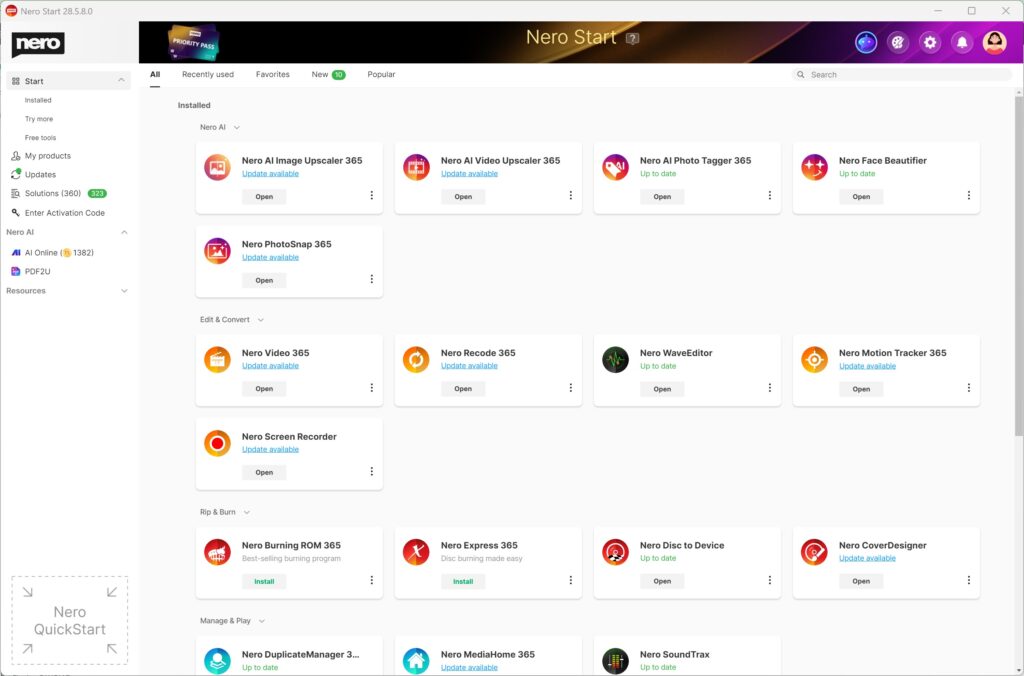
What’s New in Nero AI Image Upscaler 2026 (Release Notes – 28.5.8.0)

We are thrilled to announce a major update to Nero AI Image Upscaler, bringing new features, enhancements, and a streamlined user experience designed to elevate your image processing to new heights. This release represents our commitment to providing you with the most powerful and intuitive tools for transforming your digital images. Let’s dive into the exciting changes that await you!


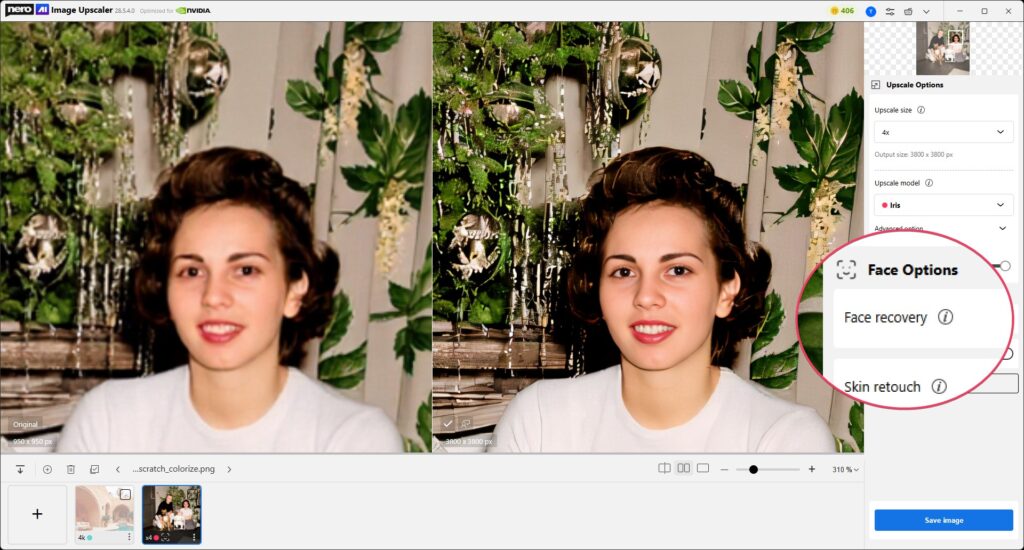
👤 Enhanced Face Options: Bringing Your Portraits to Life

For those who frequently work with portraits and images containing faces, the new update introduces a dedicated Face Options section. This includes intelligent features like Face recovery and Skin retouch, designed to restore and enhance facial details with precision.

From subtle skin smoothing to recovering lost details in eyes and hair, these options give you professional-grade control over portrait enhancement. Best of all, you can now run these portrait features directly with local models, making the workflow faster and more flexible.


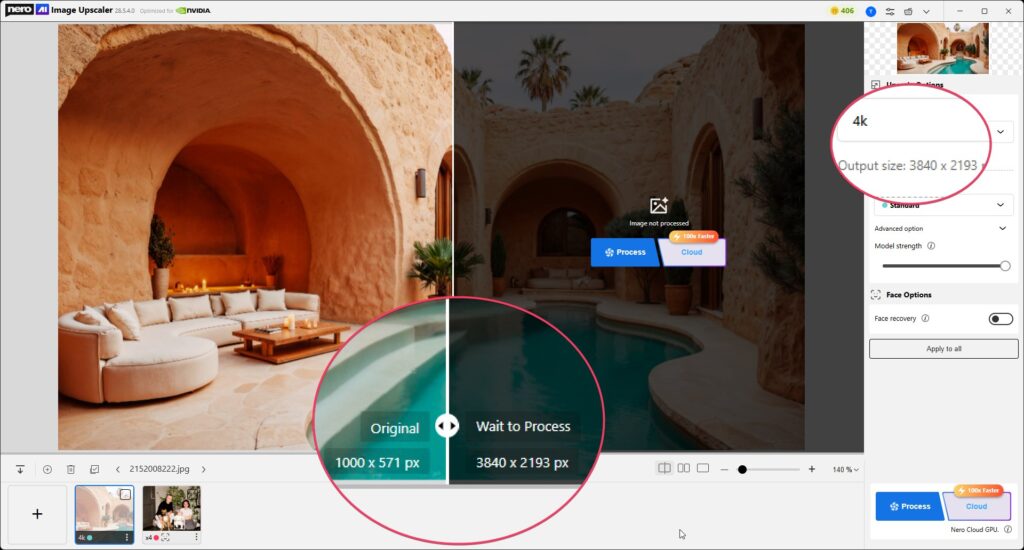
📏 Clearer Output Size Specification: Know Before You Process

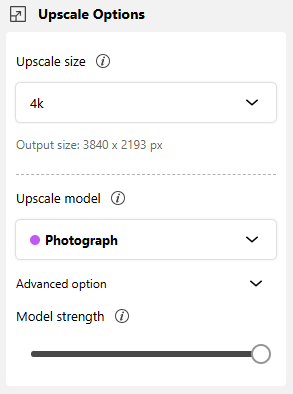
Gone are the days of guessing the final dimensions of your upscaled images. The updated Upscale size option now provides immediate feedback, clearly displaying the resulting output resolution (e.g., “2x” will show “1280 x 784 px”). This transparency ensures you know exactly what to expect before hitting Process.


🎚️ Smarter Model Control: Intuitive and Precise

We’ve streamlined the AI model selection process and paired it with a new Model strength slider. Whether you’re working with Photograph, Anime, or other specialized models, you can now select and fine-tune them more easily—balancing subtle refinement with dramatic transformation at your fingertips.


💾 Faster Saving with Fewer Clicks

Saving your processed images is now quicker than ever. Instead of going through an extra confirmation step, results are directly exported according to the default file name and path rules. Fewer clicks, smoother workflow, faster results.


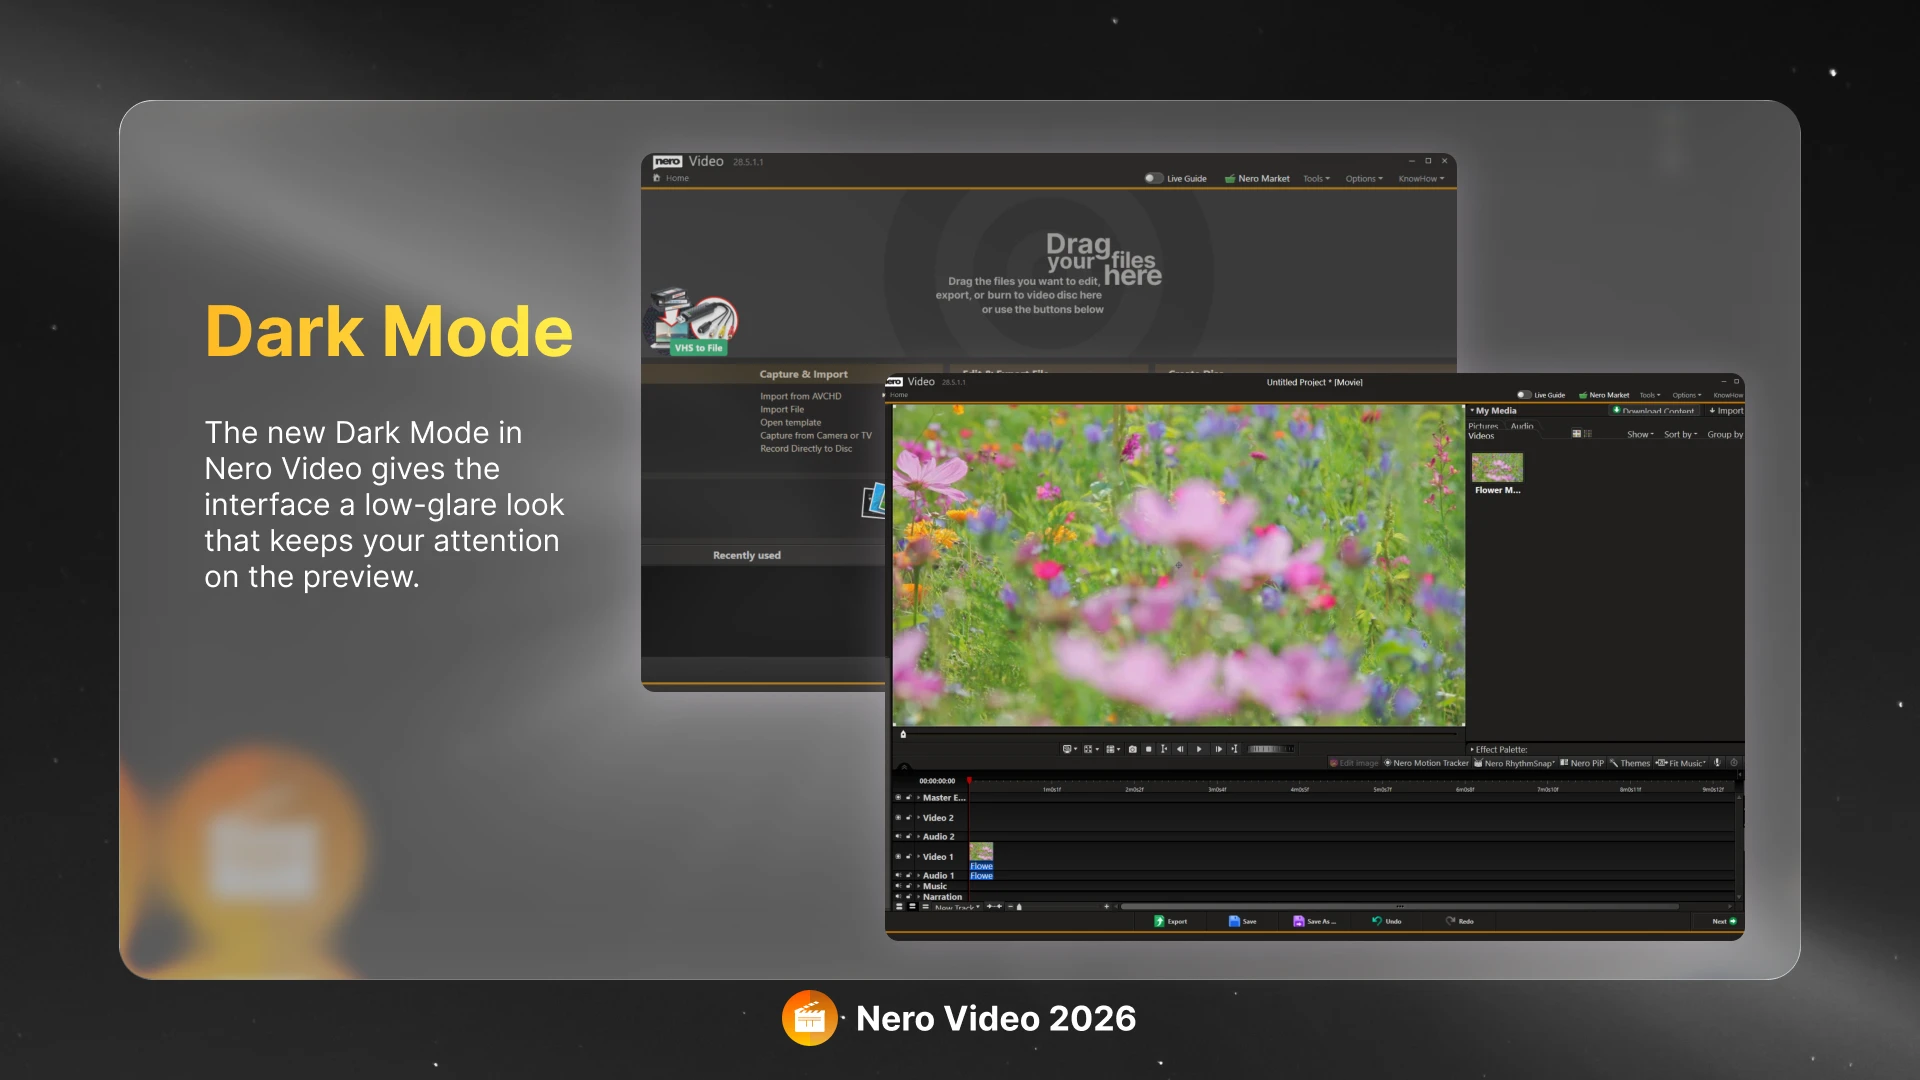
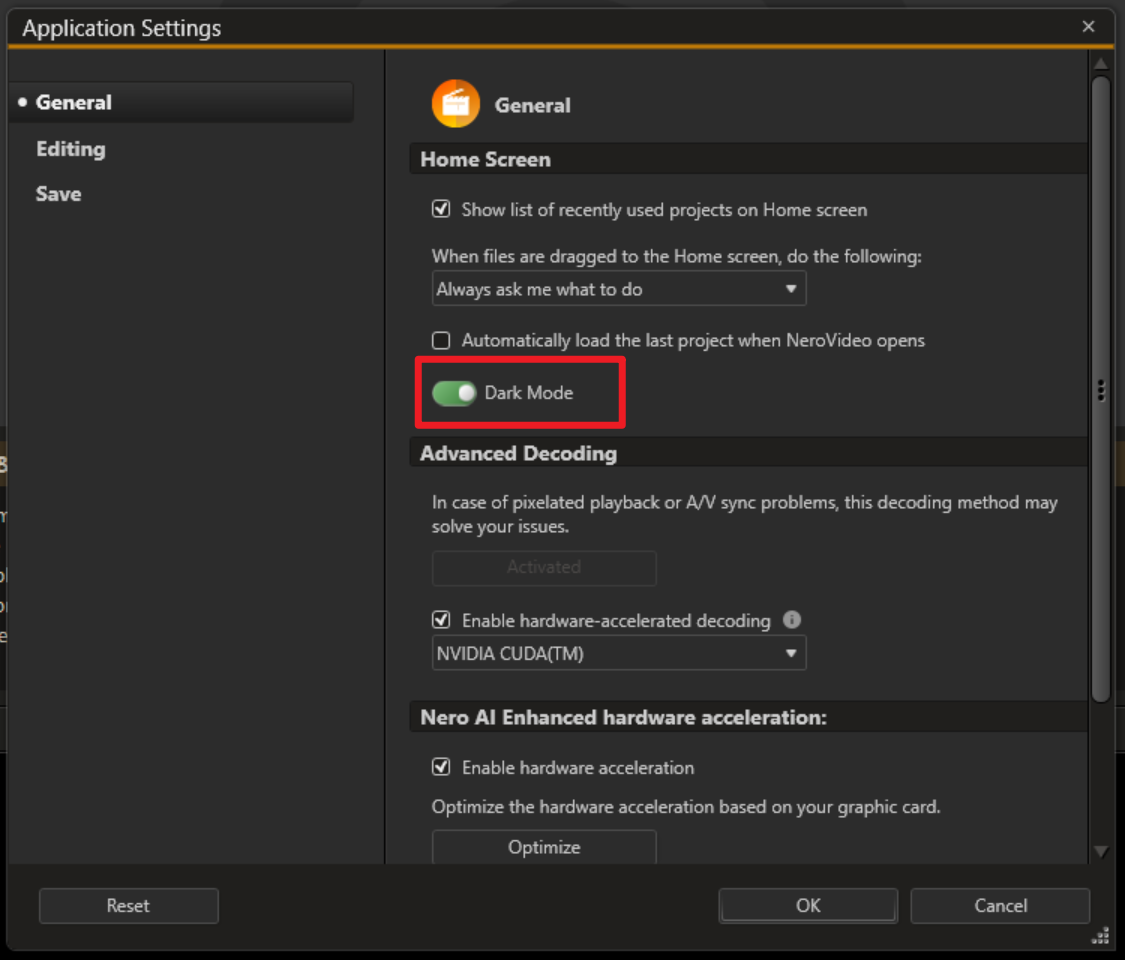
🌙☀️ Light & Dark Mode Support

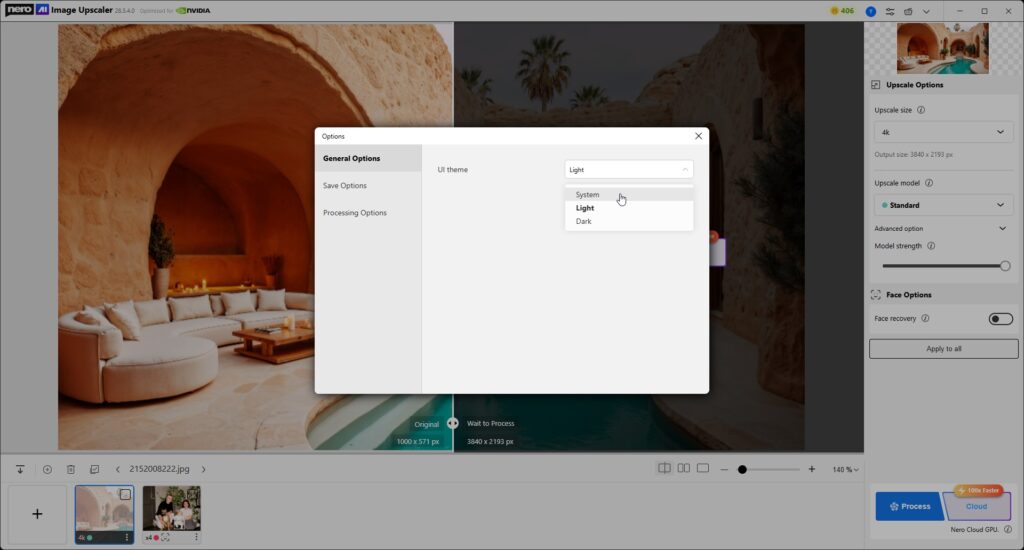
We’ve added full support for Light Mode and Dark Mode, giving you the flexibility to choose the interface style that best fits your environment and personal preference. Whether you’re working in a bright studio or a dim editing room, Nero AI Image Upscaler now adapts seamlessly for a more comfortable experience.


🚀 Experience the Future of Image Upscaling Today!

This update is more than just an iteration—it’s a testament to our continuous effort to deliver cutting-edge technology with an unparalleled user experience. Update today and unlock the full potential of your images!

Get It Now 🛒

What’s new in Nero MediaHome 2026?

Nero MediaHome 2026 introduces powerful new features that make managing, organizing, and sharing your media collections easier than ever. Based on user feedback, this update brings significant improvements to metadata support and playlist/collection management across devices.

✨ What’s New

1. Full IPTC Metadata Support for Photos


  • View, search, and export IPTC metadata (e.g., location, title, copyright, creator) directly in Nero MediaHome.

  • Place information from IPTC tags is now integrated into the Places view, grouped together with your existing location data.

  • Edit IPTC metadata fields directly within Nero MediaHome and save changes seamlessly.

  • Benefit: Make use of the details you already added in-camera to better organize and find your photos.

2. Import and Export Playlists Across Apps and Devices

  • Import music playlists from popular formats: m3u, m3u8, PLS, WPL.

  • Export playlists as m3u or m3u8, ensuring compatibility across a wide range of apps and devices.

  • Imported playlists are fully integrated into your library for playback, editing, and further organization.

  • ⚠️ Note: Only accessible files will be imported. Entries pointing to unavailable locations (e.g., cloud-only files) will be skipped. If all files are inaccessible, the playlist will not be imported.

  • Benefit: Reuse your playlists across different platforms without manual rebuilding.

3. Export Photo and Video Collections to Local Folders

  • Previously limited to external devices, you can now export collections directly to any local folder on your computer.

  • Folder and album structures are preserved during export, keeping your collections consistent and organized.

  • Works with collections by Faces, Places, Albums, or other groupings.

  • Benefit: More flexibility for sharing, backup, and cross-device use.

💡 Upgrade Tip

Available with Subscription

The new features in Nero MediaHome 2026 are available exclusively with a subscription.

  • If you’re already a subscriber, simply update to the latest version and start using IPTC metadata support, playlist import/export, and flexible collection exports today.

  • 👉 Upgrade your workflow with Nero MediaHome 2026 and take your media management to the next level.


1-Click Batch Upscale: Process up to 20 Images Effortlessly in Image Upscaler

The Batch Upscale feature lets you process multiple images in one go — up to 20 images at a time — while maintaining high quality and flexibility. You can either apply the same AI model and settings to all images with one click or customize different settings for each image individually. This feature saves time and ensures consistent, professional results across your entire image set.

💡 What is [Apply to all]?

The Apply to all button automatically copies your current settings — including AI model, upscale rate, and face preferences— to all imported images.
Use it to ensure all photos follow the same parameters for a unified result.
Alternatively, you can assign different models or adjustments to individual images before batch processing.

🧭 How to Use

  1. Import Images
    Add up to 20 images. Drag and drop them into the workspace or click Add.
  2. Set Upscale Rate or Resolution
    Choose a preset scale (e.g., 2×, 4×) or define a custom output resolution.custom resolution
  3. Select AI Model
    Pick an AI model best suited to the image type — for example:

    • Photo – Soft and natural for portraits or everyday photos

    • Iris – Enhances fine textures such as hair, fur, and eyes

    • Standard – Ideal for landscapes and architecture

    • Anime – Designed for illustrations, paintings, and anime-style art

  4. Enable Face Recovery (Optional)
    Turn on Face Recovery if your images include blurry faces that you want to enhance. It helps restore facial details and smooth imperfections.
  5. Preview and Adjust Settings
    Process one image first to check results. Fine-tune model strength, upscale ratio, or face recovery if needed.
  6. Apply to All (Optional)
    Once satisfied, click [Apply to all] to copy your current settings to all remaining unprocessed images.Or you can right-click the current image from the file list then click the [Apple settings to all images] button.You can still modify individual images afterward if they require different models or adjustments.
  7. Select Images for Batch Processing
    Click Select all button to include the entire batch (the processed image will not be processed again even checked on) or choose the specific images you want to process.
  8. Start Processing
    Click [Start processing] to begin batch upscaling. Each image will be processed in sequence based on its assigned model and settings.
  9. Monitor Progress and Review Results
    Follow progress in real time. When finished, review each result and export your enhanced images.

✅ Best Practices

  • Preview Before Batch Processing: Always test settings on one image before applying them to all.
  • Mix Models for Different Image Types: Choose different AI models for portraits, artwork, or architecture to get optimal results.
  • Balance Quality and Speed: Higher upscale ratios and larger original images increase processing time.
  • Try Cloud Process for Heavy Tasks: If your PC is slow or running low on GPU/CPU memory, switch to Cloud Process for faster performance.(Requires Pro plan and consumes Nero Credits.)

🛠️ Troubleshooting

  • Face Recovery Not Available
    This feature requires a Pro or higher subscription. Upgrade to unlock advanced facial enhancement.
  • Task Failed or Processing Stopped
    • Check your internet connection and ensure the batch does not exceed 20 images.
    • If your PC is under heavy load or lacks GPU resources, try using the Cloud Process mode for stable and faster results.(Available for Pro users; each image consumes Nero Credits.)
  • Inconsistent Results Across Images
    Confirm that the correct AI model and settings are applied via [Apply to all], or adjust individually if image types vary.
  • Slow Performance
    Close other demanding applications or background processes. For best speed, use Cloud Process or reduce batch size.

How to Enable Nero BuringROM and NeroExpress Logging Events to Windows Logs

Note: This feature is only available in Nero Volume License products.

  1. Open Nero BurnRights on your PC.
  2. Click Nero Burning ROM or Nero Express in left panel, check the option ‘Enable logging events to Windows Logs’.

This option is applied for both Nero Burning ROM and Nero Express for the same time.
After disc is burned, check the Windows log from the following position in the Computer Management program:

  • Event Viewer → Windows Logs → Application