Upscale images with cloud GPU acceleration⚡

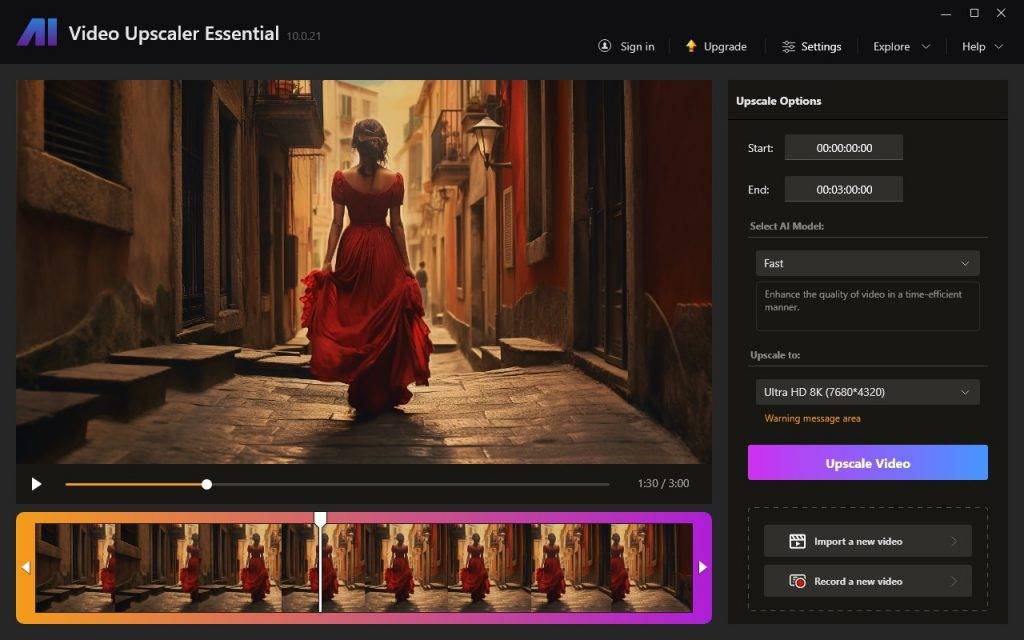
We are pleased to announce that the latest version includes an online engine mode. Users can now upscale images faster than ever before, thanks to the acceleration provided by the cloud server GPU.

What is the online engine mode?

This mode refers to the integration of a web service engine within the AI Image Upscaler Windows Desktop App to handle the process of image upscaling.

Therefore, images will be uploaded to the server for processing. Rest assured that your precious pictures will not be stored after processing. Our server will promptly and securely delete your uploaded data, ensuring that there is no risk of your valuable information being exposed. We prioritize your data privacy and are fully committed to protecting it.

Why do we need the online engine mode?

The speed of AI image upscaling greatly depends on the performance and power consumption of the GPU.

Expensive GPU

In recent years, due to the influence of Bitcoin and AI-Generated Content (known as AIGC), the prices of graphics cards have skyrocketed. Not all users can afford to equip their desktop computers with high-performance graphics cards.

Even if your desktop computer at home has a good graphics card, you may still have to endure long waits caused by the lack of a dedicated graphics card while traveling on business trips.

travel and work with laptop

No more errors, hardware issues, quality compromises, or long loading times! That’s why the online engine mode is introduced.

Can I use the online engine mode for free?

First of all, the online mode is not a free service. It requires consuming credits from your account to enable its usage. Generally, it takes 1 credit to upscale one image.

Secondly, you need to have Pro version privileges. You can upgrade your entitlement through In-App purchases or online purchases.

If you have subscribed to our Platinum Suite 1-Year License (known as the Nero Platinum Suite 365), congratulations, you can log in to your Nero Account to obtain your entitlement.

How to use the online engine mode?

  1. Run the app.

    Run the app
    Run the app
  2. Import the image.

    Import image
    Import image
  3. In the AI model selection section on the right side of the settings panel, you can click on the mode options and select Online mode.

    select online mode
    Select online mode
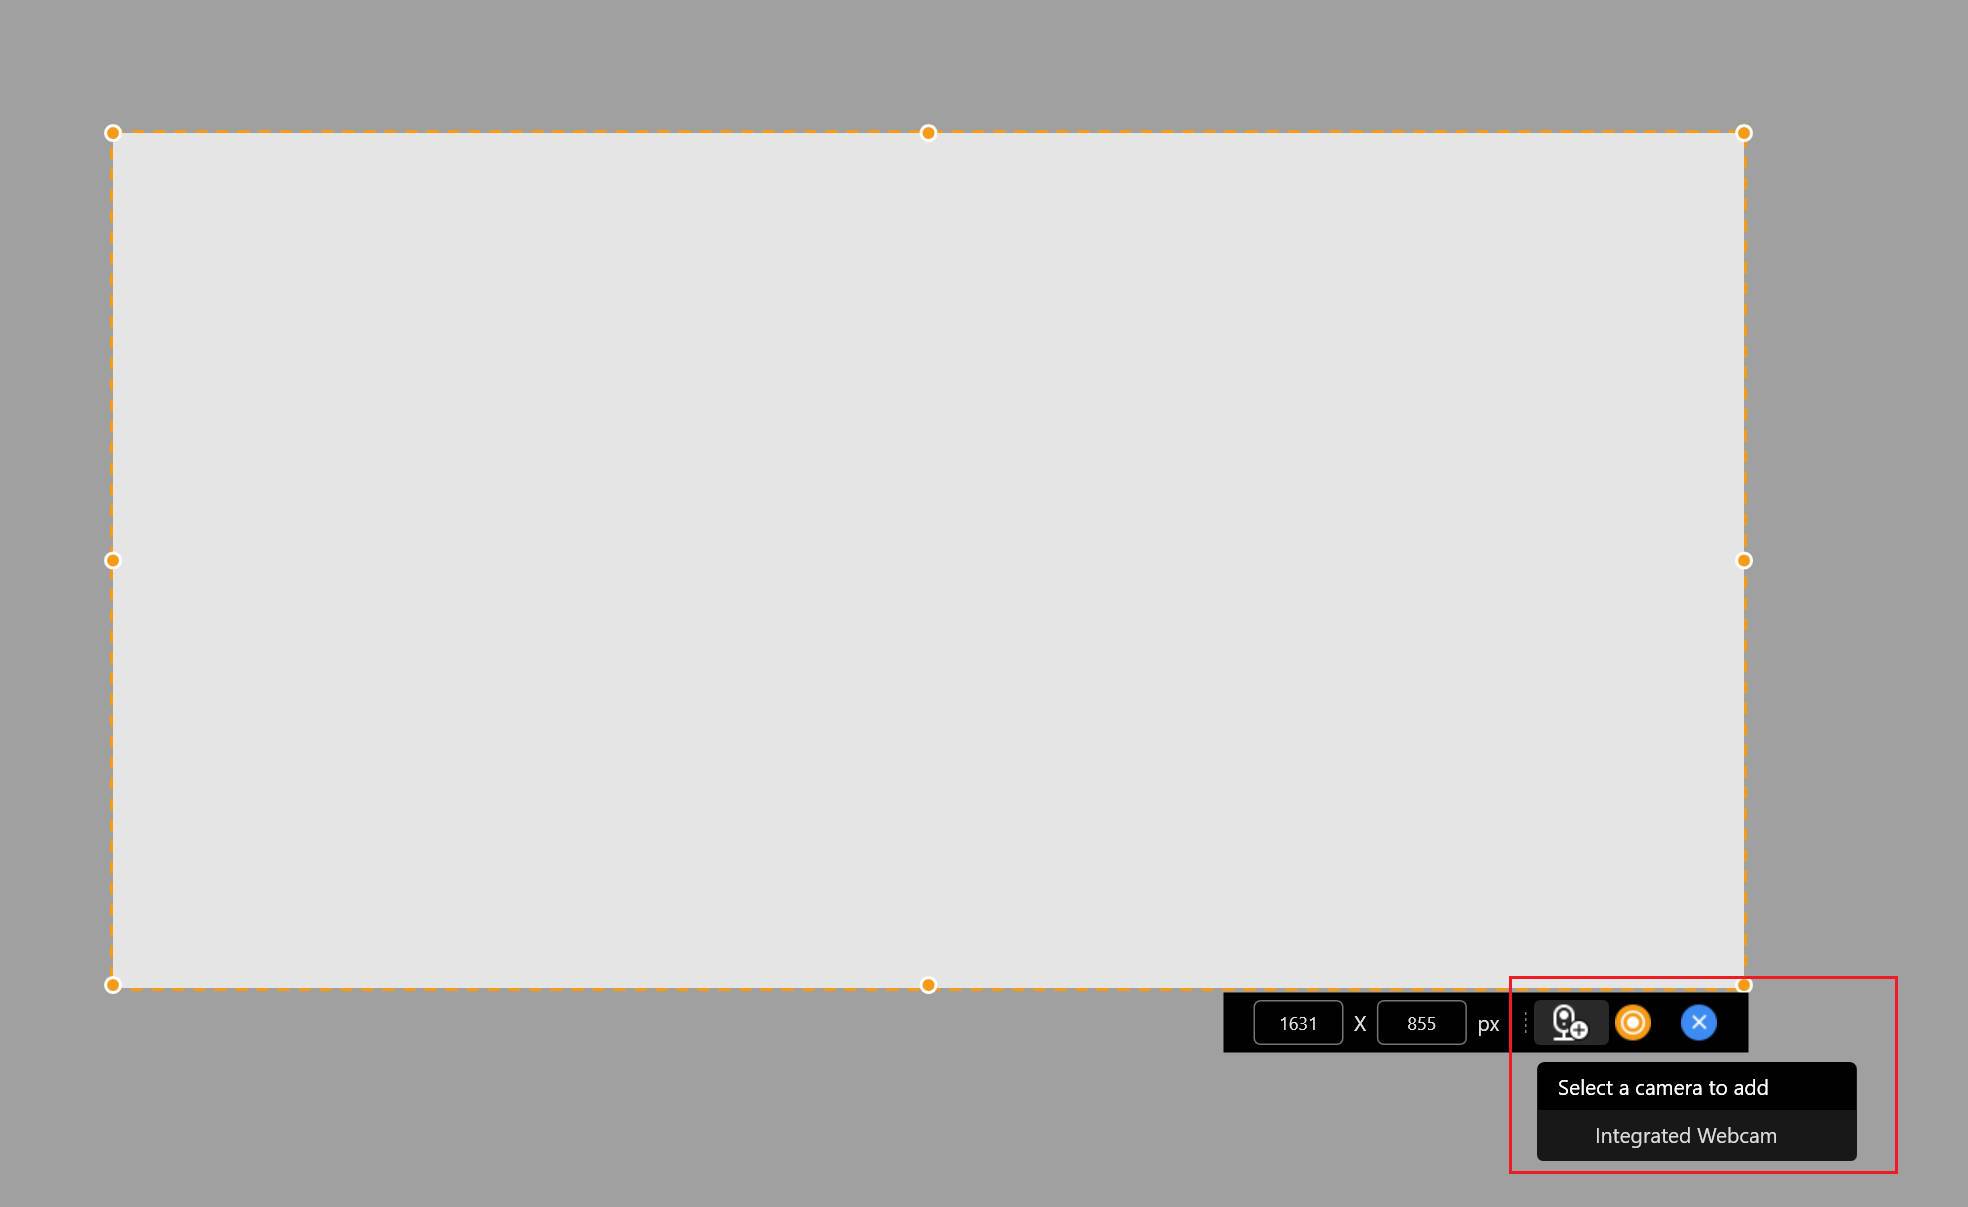
  4. Click on Start to begin.
    Select AI model and click [Start processing]
    Select the AI model and click [Start processing]
  5. Don’t forget to save the result.

    Save the result
    Save the result

Additionally, you can also set the preferred engine mode as Online mode and specify the default model within the preferences settings. Turn on the switch for automatic start.

Preferred engine, model and auto-start
Preferred engine, model and auto-start settings

Simply import the image without clicking the Start button, and the app will automatically perform the image upscaling task.

What should be considered?

First, you need to have an internet connection.

Second, you need to have the Pro version privileges.

Third, you need to have enough credits.

Fourth, you need to agree on the Privacy Policy and EULA.

Finally, once the task is processed successfully, please save the images to your local storage promptly.


Nero KnowHow 00318

Nero Start release notes – 25.5.81.0

This release includes some user experience improvements and bug fixes.

Improvement

Jump into your use case just in 2 steps!

Back from vacation, are you still struggling about how to make a video with so many pictures and videos?

Follow the introdution below to create a vacation video just in 2 steps!
Jump into your use case just in 2 steps

Not only creating video automatically, but also other use cases, now, from Nero Start > Solutions, you can jump into your use cases just in 2 steps


Nero KnowHow 00317

Jump into your use case just in 2 steps!

Back from vacation, are you still struggling about how to make a video with so many pictures and videos?

Follow below steps to create a vacation video just in 2 steps!
1. Find ‘Create a vacation video’ in Nero Start > Solutions and click it
search use case

2. Browse and open the pictures and videos which captured during your vacation

browse files for use case

Now, Nero Video will create the vacation video automatically!
create video automatically

Not only creating video automatically, but also other use cases, now, from Nero Start > Solutions, you can jump into your use cases just in 2 steps:

Step 1: find your use case and click it
Step 2: some use case need to be feeded with source files
> DONE

Try your use case now!

Nero KnowHow 00316

Why and how shall I choose a product to show in Start?

Nero Start, as your hub to manage all your Nero programs, it always show the applications of your selected product in Start view. Your selected product name will be listed at Nero Start header bar. If you own several Nero products, you can choose one to show its applications in Start view according to your preference.

For example, in below screen, the Start view lists all your applications of Nero Platinum Suite 2021:

Start view in Nero Start

If you start an application from Start view now, e.g. started Nero Recode as below, Nero Recode 2021 will be started.

Start_version consisit

Then you may wondering, if I have multiple Nero products, how do I choose which product shall be listed in Start view?

There are two places you can choose the product, and just in 2 steps.

1. Nero Start header bar
You will find a ‘drop-down’ arrow beside your product name at Nero Start header bar if you own several Nero products.

  • Step 1 – clicking drop-down icon: you will see all your Nero products from the list. The product with green mark is the one which listed in Start view now.
    drop-down menu to choose product
  • Step 2 – choose the product: Now you can click the product from the list to choose it. For example, I clicked Nero Platinum 365 now.

After I selected ‘Nero Platinum 365’ from the product list, the product name at header bar will be changed. If now I click the Nero Recode button from Start view, I will get the Nero Recode subscription version, see below:

the application started from Start
2. Nero Start > Manage my account

You also can choose the product to show in Start view in ‘My Nero Account’ view.

  • Step 1 – click ‘Manage my account’: Clicking ‘Manage my account’ from the menu of ‘Account Settings’ will open ‘My Nero Account’ view. The product whose ‘switcher’ is turned on is the one which listed in Start view now. Account Settings menuMy Nero Account view
  • Step 2 – turn on the ‘switcher’ for your product: Turn on the ‘switcher’ of the product you want to show in Start view.

As same as in product drop-down menu, the Start view will show the applications from new product once you switched.

Now, just try, feel free to change your product to show it in Start view. Please contact Nero support if you still feel confusion.

Nero KnowHow 00315


What should I do if I experience problems with VC Redist installation failure?

The problem is caused by the fact that there are still damaged entries from VC 2015-2022 on your system, which block the new installation.

Error message of 'vc redist' failed to be installed

Please follow below steps to resolve the issue.

  1. Please install all windows update by manually.
  2. Open the Control Panel – Programs and Features – Uninstall a program
  3. Uninstall Microsoft Visual C ++ 2015 or 2017 or 2019 Redistributable from your system. The detail name depends on which version installed on your system.
  4. Restart the computer
  5. Download the installer from below link then reinstall.

x64: https://ecloud.nero.com/index.php/s/QNMCPAsed7dKHgy
x86: https://ecloud.nero.com/index.php/s/L8xKNNxd62fSpia

After that, please retry Nero’s installation.

We hope it resolved your problem. If not, please contact Nero support.


Nero KnowHow 00134